Browse microphones for content creation that provide quality sound and are affordable.
Unlike lighting equipment, there can be a significant drop in quality depending on the microphone you use. When you’re on a professional set, microphones can really run up a tab, like this one.
It’s very true that good audio can really up your production value, while bad audio stands out and makes a viewer subconciously feel that something’s off (even if you try to fix it in post).
Luckily, there are a lot of audio options that you can choose from for content creation, that are a lot cheaper than that Sennheiser. Let’s break it down.
Note: as an Amazon and Rode associate, I earn from qualifying purchases, at no extra charge to you.

Lav Mics
Lavalier (lav) microphones are a very popular choice. They are traditionally a wired microphone; you wear a transmitter on your hip, and attached to it is a wired mic that goes under your shirt so people don’t see it. The transmitter transmits to a receiver that connects to your camera. What a hassle.
These days, the microphone can, by itself, transmit a signal to the receiver attached to the camera. The messy wire is gone, at the cost of the microphone being a bit bigger.
Luckily, nobody on TikTok cares if they can see a microphone clipped to your shirt collar, making lav mics the easy winner in the audio category when it comes to creating content. Let’s review some options.
Rode Wireless GO 3
The Rode Wireless Go series has easily been one of the most popular mics used by content creators over the past few years. It’s now on version 3 and, true to Rode standards, it comes with excellent sound quality and portability at a price point that’s hard to beat.
Pros
Cons
Clip the mic to your shirt, attach the transmitter to your camera, and you’re good to start shooting content with amazing audio quality.
You can also buy a mic holder from Rode that will give you a bit more reach with the mic. Or you can just clip the mic to a spatula.
For a cheaper option, the 2nd generation is excellent and on Amazon: Rode Wireless GO II
Rode Wireless PRO
The Wireless GO’s fancier sibling. This comes with a lot more accessories, including two tiny wired lavalier mics in case you want to be discreet. These two lavalier mics are individually $100, so not a bad deal.
DJI Mic 2
Get it on: Amazon
DJI is also a very popular brand among mics these days, and the Mic 2 is definitely rivals the Wireless GO/PRO. DJI prides itself on its noise cancellation technology that’s built into the mics.
However, while built-in noise cancellation is nice, you can always reduce background noise in post.
It’s basically a toss up. In my opinion, the Rode Wireless GO has slightly better audio quality.
There are also more budget friendly options, such as the Hollyland M2, that you can find on Amazon. I’d still recommend one of the above options, though. They last forever, meaning you only have to buy them once, and offer amazing quality.
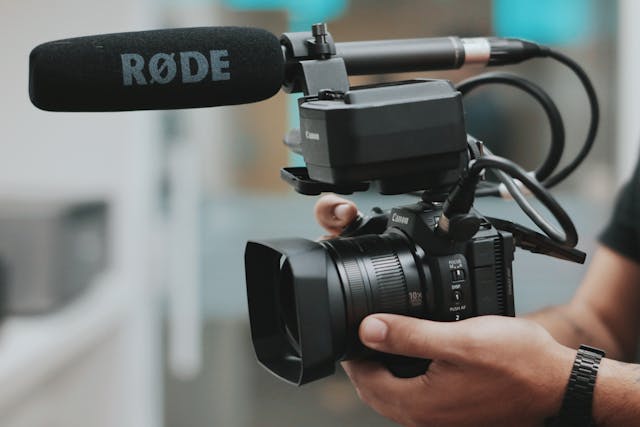
Shotgun Mics
You can’t go wrong with the classic shotgun mic. Just attach it to your camera, and you’re good to go. Simple.
The big difference between a shotgun mic and the lav mics I describe above is that a shotgun mic is a directional microphone. This means that it’s designed to focus more on sound in front of it than to its sides or rear. So, the closer and more in front of it you are, the better your sound will be picked up.
Directional mics are very useful if you need your audio to sound different based on where the subject is relative to the camera! Think about this. Usually, if you’re filming for social media, you don’t really care and just want yourself to be heard well at all times.
Pros
Cons
*What I mean by “oddly shaped” is that shotgun mics often sit on top of a semicircular plastic oscillator, which prevents sounds like moving or bumping the camera from registering to the mic.
Remember that the lav mics above can only attach to at most two subjects, so if you need to film large groups, a shotgun mic is probably the best option. Otherwise, I’d go with a lav mic.
With all that out of the way, here are some shotgun mic recommendations:
Deity V-Mic D4 Mini
Get it on: Amazon
A great budget option that packs a punch. Comes with a faux fur attachment (deadcat) to block wind.
Rode VideoMic PRO+
Get it on: Amazon
A mic stuffed with the kitchen sink. It can filter out certain frequencies for a cleaner sound, as well as boost nearby ones. Also has 3 levels of gain control.
I wouldn’t buy a shotgun mic more expensive than the Rode VideoMic PRO+, unless you’re building a professional team of videographers. Don’t overthink these things! Remember that and let’s move on.
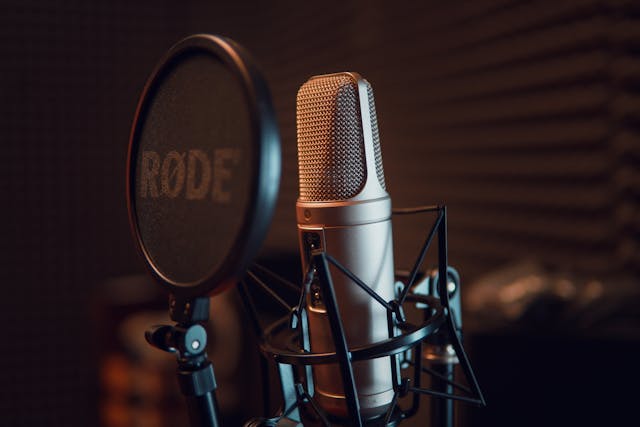
Condenser Mics
Let’s talk about microphones for your podcast, live stream, or general studio/home setup. You may have heard of “condenser” microphones. It’s a term thrown around a lot these days, but what does it mean?
A condenser microphone contains within itself two small plates used for recording sound. This is different from more traditional microphones (aka dynamic microphones).
To learn more about condenser mics, see the article I wrote on condenser vs dynamic microphones and which one is best for you.
Condenser mics are a great option for your podcast or live stream, or even ASMR content. However, a dynamic microphone is equally as good.
What you moreso need to think about when starting out is the type of connection your mic has - USB or XLR. For more on this, see the article on podcast mics (same one as above).
I highly recommend you read the aforementioned article before coming back here. Let’s break down the general pros and cons of these dynamic/condenser mics:
Pros
Cons
Don’t care about reading up on this stuff? Here are my top recommendations for condenser or dynamic microphones for your podcast or live stream:
Blue Yeti
USB | Condenser | Get it on: Amazon
One of the most popular mics on the market. Different sound recording options built-in, a mute button, and a headphone jack make this great for all purposes.
FIFINE Microphone Set
Dual | Dynamic | Get it on: Amazon
A great budget option. This one has both USB and XLR ports, and comes with a boom arm! More on boom arms below.
Shure MV7X
XLR | Dynamic | Get it on: Amazon
A solid product from another audio industry standout, the folks at Shure always deliver. Needs a boom arm!
Rode NT1 Signature Series
XLR | Condenser | Get it on: Rode | Amazon
The successor to the popular NT1-A mic, the NT1 is branded “the world’s quietest studio condenser microphone”. Can’t go wrong with this insanely popular choice. Needs a boom arm!
Need to know more about things like boom arms and audio interfaces? Read my article on podcast mics!
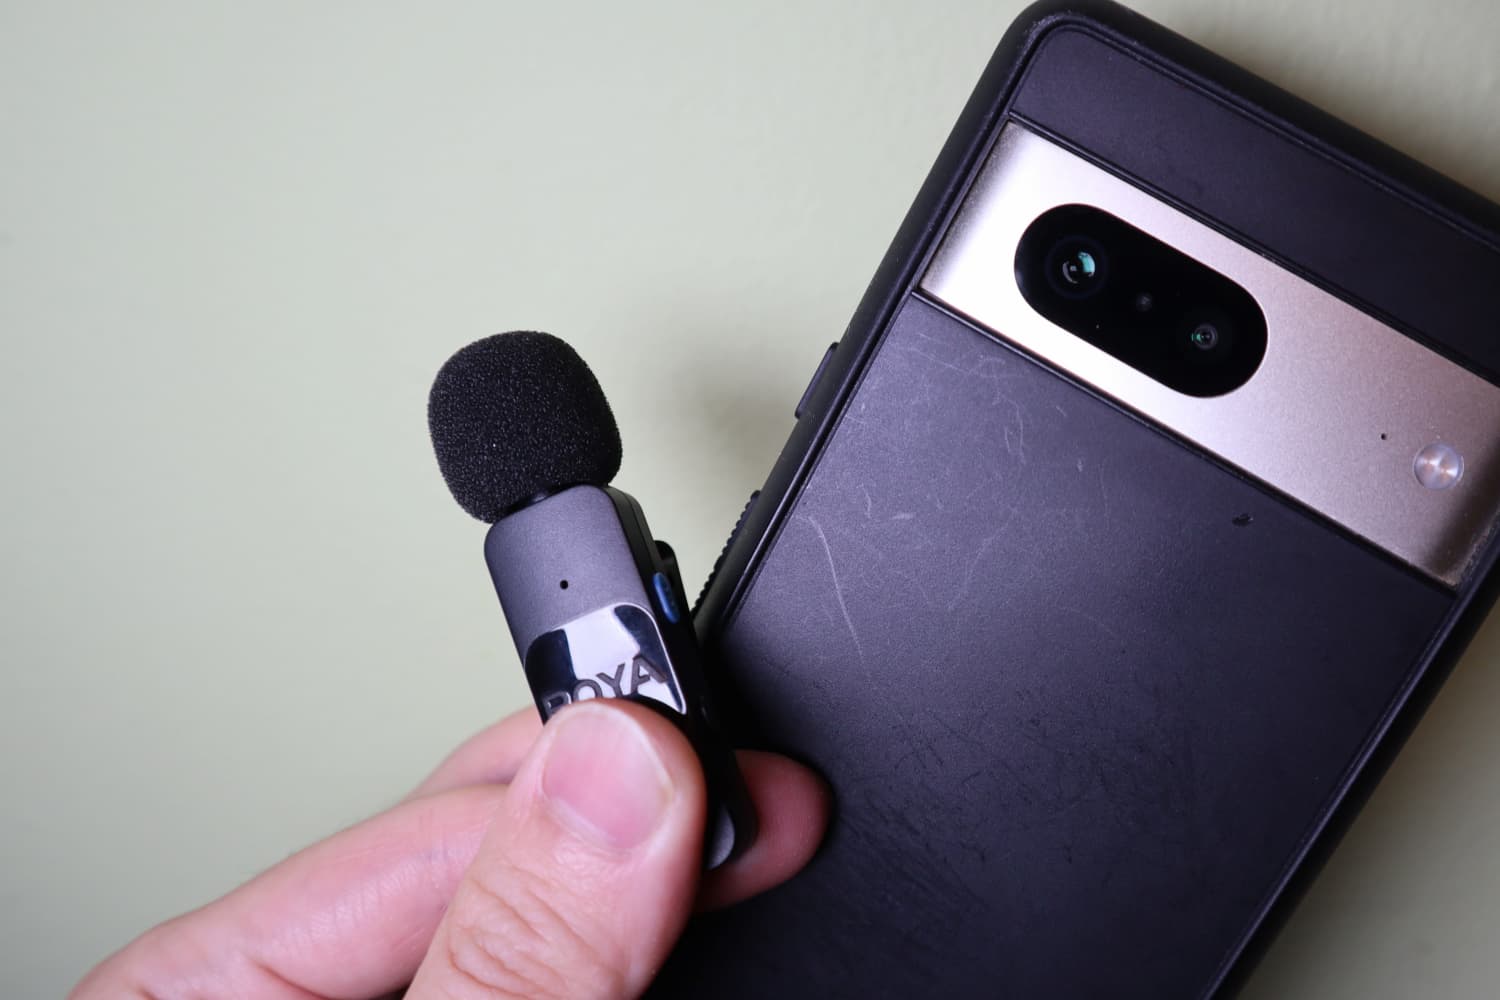
Phone Mics
These are the cheap, bottom-of-the-bin microphones that can plug into your phone and still provide better sound than your phone’s built in mic (especially if you’re far away from your phone).
There’s not much to say with these. Just plug the receiver into your phone, and you’re good to go. Here’s one that I use when I’m outside and don’t want to bring my Rode Wireless GO with me:
We’re finally done with this guide! I hope this article helped you gain a basic understanding of the different kinds of microphones. If you’re just starting your content journey, don’t overthink the options - pick one and roll with it!
Check out our other articles for more content creation tips.
Niche
Connect
Read next